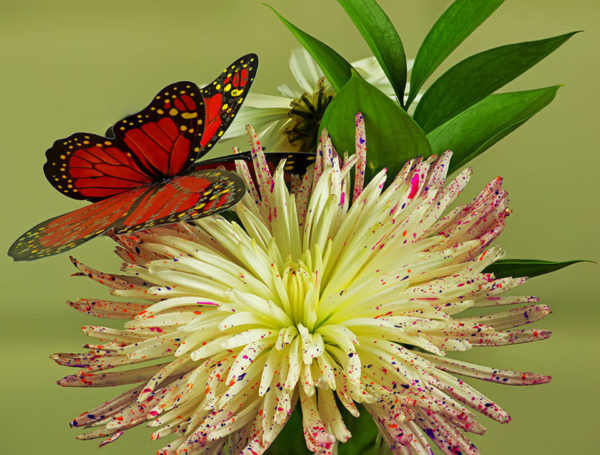
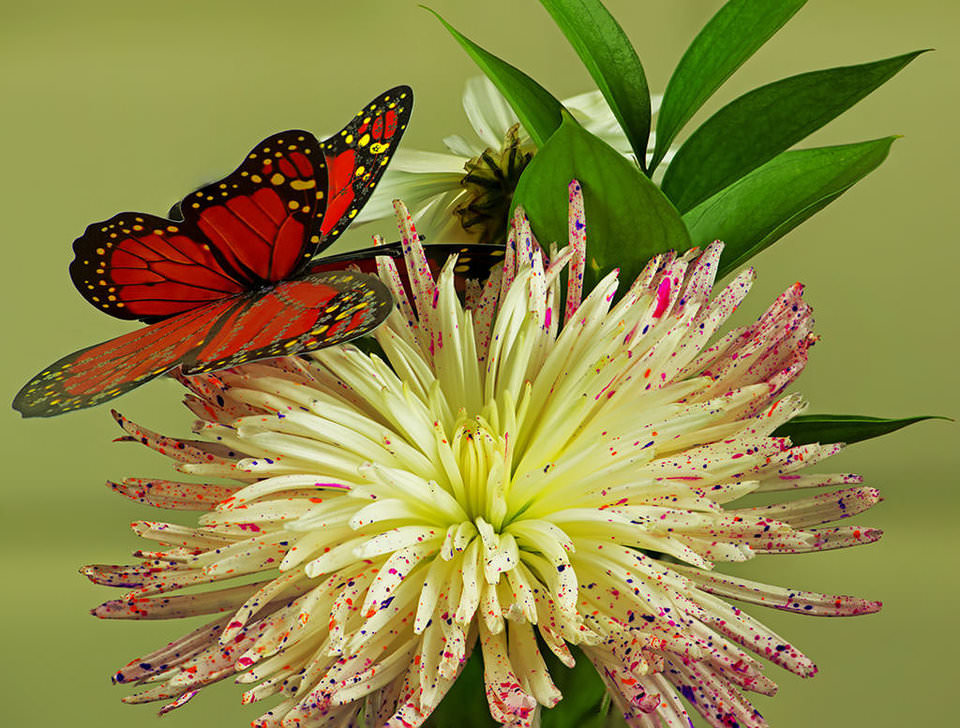
These are the steps covered by Garry in the tutorial on image stacking at the recent Activity Night
Bringing the images together
- Firstly go to drop down tabs Under File – Scripts – Load files into stack – Browse & select images & highlight to open
- Go to layers on the RHS and highlight all the images
- Drop down Tab go to
- Edit – Auto Align layers – Use Auto
Then to blend the many images into one sharp image
- Edit – Auto Blend Layer – Stack Images – Tick seamless tones & colours
- Flatten Image & Saved
For more information about image stacking and macro photography, the links below may assist:
Image Stacking Links

You will note this example is based upon the use of Photoshop, however, for those members who don’t have this software, there are a number of free software applications that can assist … see the link below that mentions five of these.
Best free focus stacking software
Macro Photography Links
A definition of Macro Photography from Ted’s cameras
Macro Photography at BHPhotovideo.com (includes inspiration, beginner tips and more)
Good luck with your photography and entries to the Macro Competition
(comments by Garry, Graeme and Esther)

